SpringBoot2 | 第十七篇:集成Swagger2在线调试(battcn版)

Swagger

​ 随着互联网技术的发展,现在的网站架构基本都由原来的后端渲染,变成了:前端渲染前后端分离的形态,而且前端技术和后端技术在各自的道路上越走越远。

​ 前端和后端 唯一联系,变成了 API 接口;API文档 自然就成了前后端开发人员联系的纽带,变得尤为的重要,swagger就是一款让你更好的书写API文档的框架。

Swagger 是一款自动生成 在线文档 + 接口调试 的工具。在 WEB 开发中不可否认的是我们需要给客户端提供 API 接口,这个时候需要借助 postman、rap 等工具 进行调试,以便于接口能正常交付给客户端人员,用过其它工具的应该知道一个 POST 请求一堆参数是非常枯燥且烦人的事情,而 Swagger 就是让你摆脱这种束缚感….

swagger 优缺点

  • 集成方便,功能强大
  • 在线调试与文档生成
  • 代码耦合,需要注解支持,但不影响程序性能

swagger-spring-boot-starter

SpringBoot 没有为 swaggerstarter ,所以 swagger 的配置较为麻烦。 swagger-spring-boot-starterbattcn 前辈对 swagger 封装做成的 starter ,它是一款建立在swagger基础之上的工具包,利用 SpringBoot 自动装配的特性,简化了传统swagger的繁琐配置。

环境/版本一览:

  • 开发工具:Intellij IDEA 2018.2.2
  • springboot: 2.0.5.RELEASE
  • jdk:1.8.0_171
  • maven:3.3.9
  • swagger-spring-boot-starter:2.1.0-RELEASE

1、pom.xml

1
2
3
4
5
6
7
8
9
10
11
12
13
14
15
16
17
18
19
20
21
<dependencies>
<dependency>
<groupId>org.springframework.boot</groupId>
<artifactId>spring-boot-starter-web</artifactId>
</dependency>
<dependency>
<groupId>org.springframework.boot</groupId>
<artifactId>spring-boot-starter-test</artifactId>
<scope>test</scope>
</dependency>
<dependency>
<groupId>org.projectlombok</groupId>
<artifactId>lombok</artifactId>
</dependency>
<!-- 引入battcn前辈封装的starter -->
<dependency>
<groupId>com.battcn</groupId>
<artifactId>swagger-spring-boot-starter</artifactId>
<version>2.1.0-RELEASE</version>
</dependency>
</dependencies>

2、application.yml

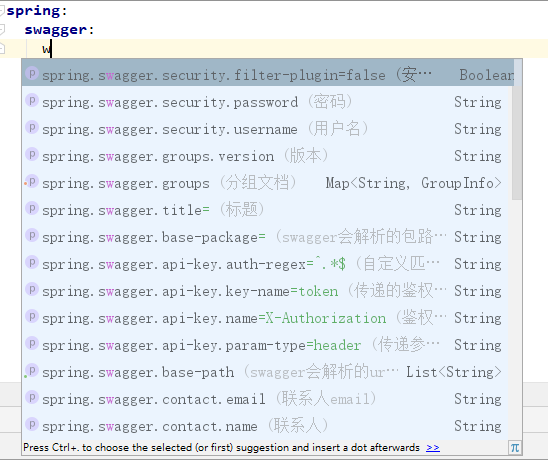
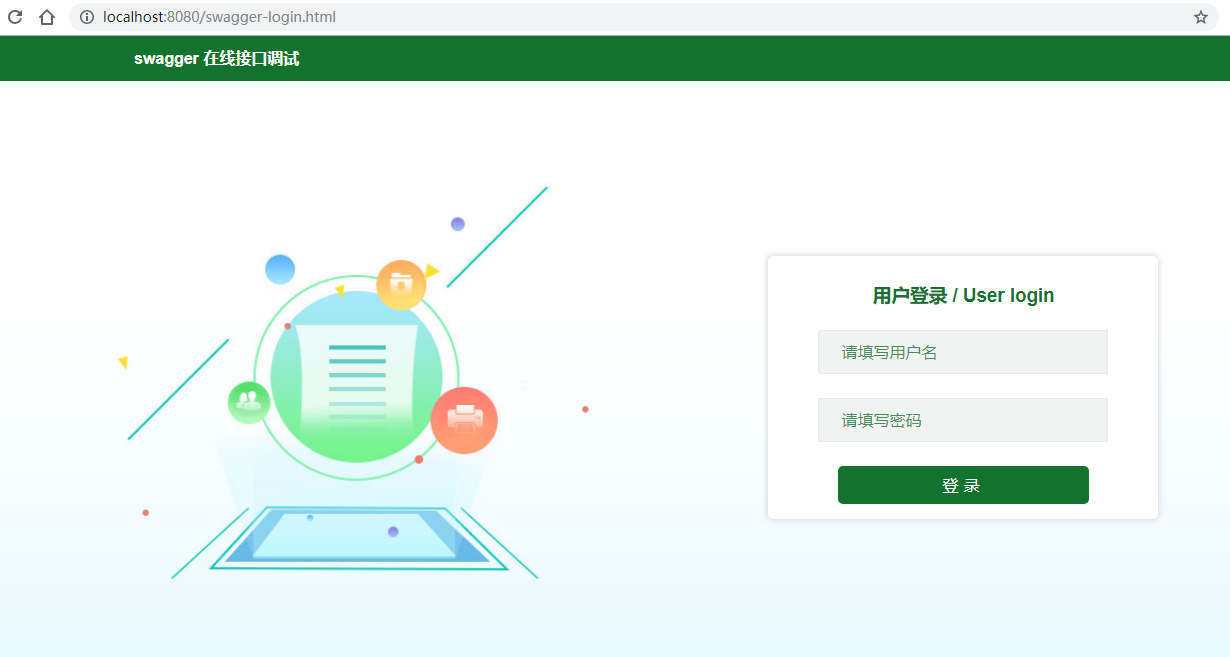
​ 配置spring.swagger.enabled开启swagger的使用,如果在生产环境中不想用可以在对应的profile下面将它设置为spring.swagger.enabled=false,这样一来接口就不存在暴露的风险

1
2
3
4
5
6
7
8
9
10
11
12
13
14
15
16
17
18
19
20
spring:
swagger:
# 启动swagger,默认为 true
enabled: true
# 扫描的包路径,默认扫描所有
base-package: com.fatal
security:
# true: 开启后访问 swagger-ui.html 会自动路由到登陆页面,保障接口信息不被暴露)
filter-plugin: true
# 配置账号、密码
username: fatal
password: 123456
contact:
name: fatal
url: fatal's url
email: 634137063@qq.com
# 描述
description: Spring Boot2 集成Swagger2在线调试(battcn版)
# 版本
version: 1.0

1539781059756

3、entity

swagger 提供了非常齐全的注解,为POJO提供了@ApiModel@ApiModelProperty,以便更好的渲染最终结果

1
2
3
4
5
6
7
8
9
10
11
12
13
14
15
16
17
18
19
20
21
22
23
24
25
26
27
28
29
package com.fatal.entity;

import io.swagger.annotations.ApiModel;
import io.swagger.annotations.ApiModelProperty;
import lombok.AllArgsConstructor;
import lombok.Data;
import lombok.NoArgsConstructor;
import lombok.experimental.Accessors;

import java.io.Serializable;

/**
* User 实体
* @author: Fatal
* @date: 2018/10/16 0016 14:08
*/
@Data
@NoArgsConstructor
@AllArgsConstructor
@ApiModel
public class User implements Serializable {

private Long id;
@ApiModelProperty("用户名")
private String username;
@ApiModelProperty("密码")
private String password;

}

4、controller

1
2
3
4
5
6
7
8
9
10
11
12
13
14
15
16
17
18
19
20
21
22
23
24
25
26
27
28
29
30
31
32
33
34
35
36
37
38
39
40
41
42
43
44
45
46
47
48
49
50
51
52
53
54
55
56
57
58
59
60
61
62
63
package com.fatal.controller;

import com.battcn.boot.swagger.model.DataType;
import com.battcn.boot.swagger.model.ParamType;
import com.fatal.entity.User;
import io.swagger.annotations.Api;
import io.swagger.annotations.ApiImplicitParam;
import io.swagger.annotations.ApiImplicitParams;
import io.swagger.annotations.ApiOperation;
import lombok.extern.slf4j.Slf4j;
import org.springframework.web.bind.annotation.*;

/**
* User 控制器
* @author: Fatal
* @date: 2018/10/16 0016 14:10
*/
@Slf4j
@RequestMapping("/users")
@RestController
@Api(tags = "1.1",description = "用户管理", value = "用户管理")
public class UserController {

@GetMapping("")
@ApiOperation(value = "条件查询")
@ApiImplicitParams({
@ApiImplicitParam(name = "username", value = "用户名", dataType = DataType.STRING, paramType = ParamType.QUERY),
@ApiImplicitParam(name = "password", value = "密码", dataType = DataType.STRING, paramType = ParamType.QUERY)
})
public User query(String username, String password) {
log.info("多个参数用 @ApiImplicitParams");
return new User(1L, username, password);
}

@GetMapping("/{id}")
@ApiOperation(value = "主键查询")
@ApiImplicitParam(name = "id", value = "用户编号", dataType = DataType.LONG, paramType = ParamType.PATH)
public User get(@PathVariable Long id) {
log.info("单个参数用 @ApiImplicitParam");
return new User(id, "米琪", "123");
}

@DeleteMapping("/{id}")
@ApiOperation(value = "删除用户")
@ApiImplicitParam(name = "id", value = "用户编号", dataType = DataType.LONG, paramType = ParamType.PATH)
public void delete(@PathVariable Long id) {
log.info("单个参数用 @ApiImplicitParam");
}

@PostMapping
@ApiOperation(value = "添加用户")
public User post(User user) {
log.info("如果是 POST PUT 这种带 @RequestBody 的可以不用写 @ApiImplicitParam");
return user;
}

@PutMapping("/{id}")
@ApiOperation(value = "修改用户")
public void put(@PathVariable Long id, User user) {
log.info("如果你不想写 @ApiImplicitParam 那么 swagger 也会使用默认的参数名作为描述信息 ");
}

}

##5、显示

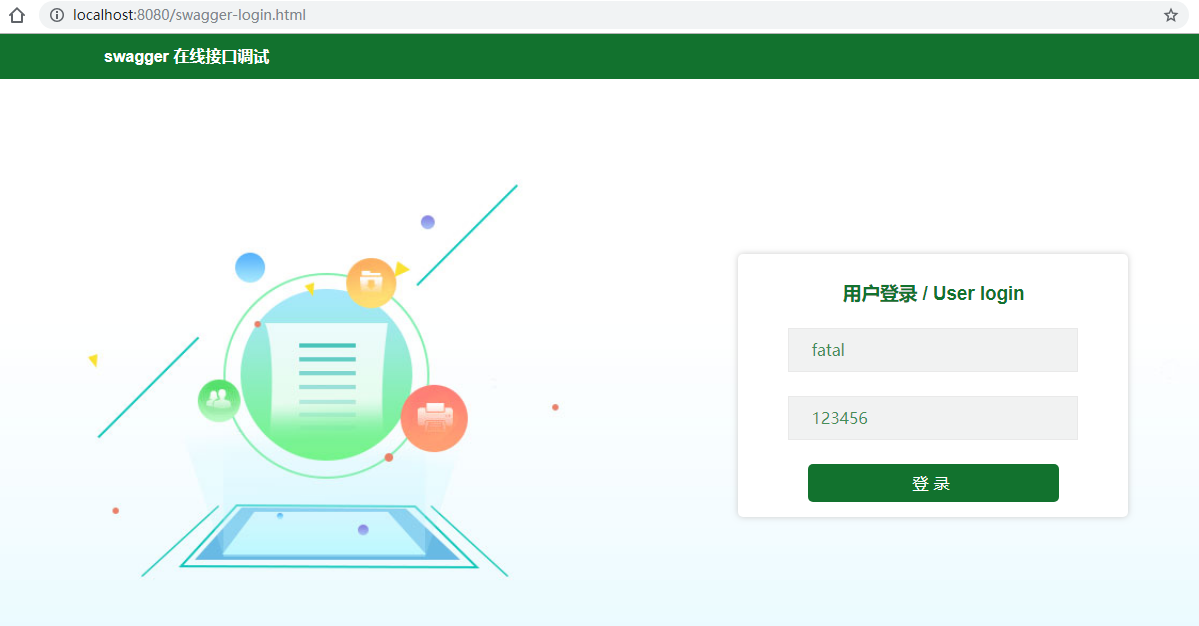
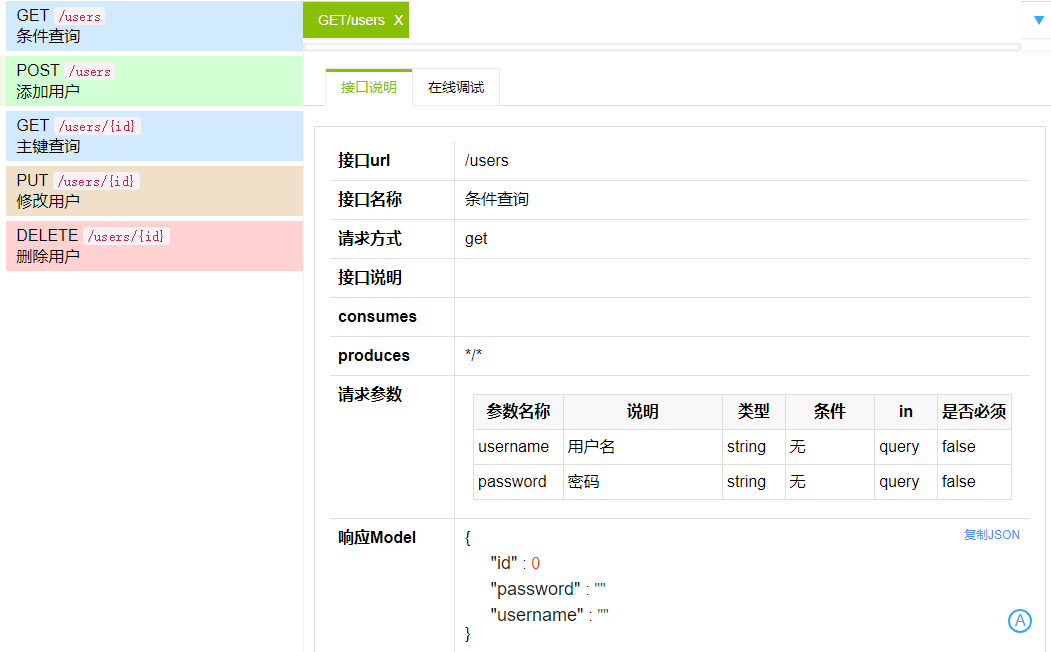
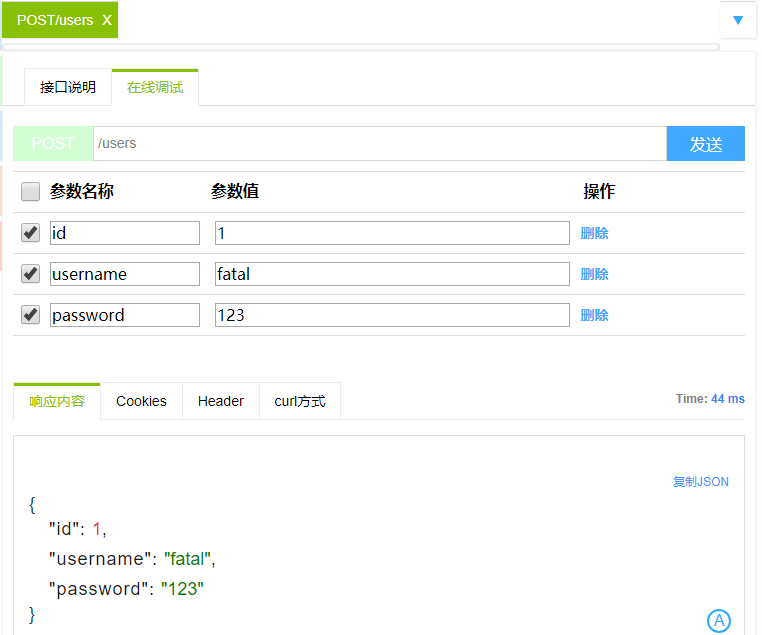
启动工程,打开浏览器输入 http://localhost:8080/swagger-ui.html 即可
1539790333458

1539790363924

1539827322329

1539790413989

1539790483773

6、笔记

注解描述

  • @Api: 描述Controller
  • @ApiIgnore: 忽略该Controller,指不对当前类做扫描
  • @ApiOperation: 描述Controller类中的method接口
  • @ApiParam: 描述单个入参信息,与@ApiImplicitParam不同的是,他是写在参数左侧的。如(@ApiParam(name = “username”,value = “用户名”) String username
  • @ApiModel: 描述POJO对象
  • @ApiModelProperty: 描述POJO对象中的属性值
  • @ApiImplicitParam: 描述单个入参信息,如果请求参数在url上,@ApiImplicitParam 上加paramType = “path”
  • @ApiImplicitParams: 描述多个入参信息
  • @ApiResponse: 描述单个出参信息
  • @ApiResponses: 描述多个出参信息
  • @ApiError: 接口错误所返回的信息
  1. 当我们指定了 Swagger 的扫描路径后,很多注解我们不写,它会取参数信息为默认值。
  2. 2.X 版本后无需添加 @EnableSwagger2Doc

参考资料

更多使用方式请参考 swagger-spring-boot

一起来学SpringBoot | 第十一篇:集成Swagger在线调试

总结

SpringBoot的知识已经有前辈在我们之前探索了。比较喜欢的博主有:唐亚峰 | Battcn方志朋的专栏程序猿DD纯洁的微笑。对这门技术感兴趣的可以去他们的博客逛逛。谢谢他们的分享~~

以上文章是我用来学习的Demo,都是基于 SpringBoot2.x 版本。

源码地址: https://github.com/ynfatal/springboot2-learning/tree/master/chapter17_2

学习 唐亚峰 前辈的经验