SpringBoot 支持如
JSP、Thymeleaf、FreeMarker、Mustache、Velocity等各种模板引擎,同时还为开发者提供了自定义模板扩展的支持。SpringBoot 推荐的 Thymeleaf;语法更简单,功能更强大;
在SpringBoot使用上述模板时,默认从 src/main/resources/templates下加载。
[TOC]
基本语法
表达式 和 th 标签配合一起使用
1、表达式
1 | Simple expressions:(表达式语法) |
2、th:属性
- th:普通属性:替换 原生 属性的值
- th:操作属性:操作 HTML 标签
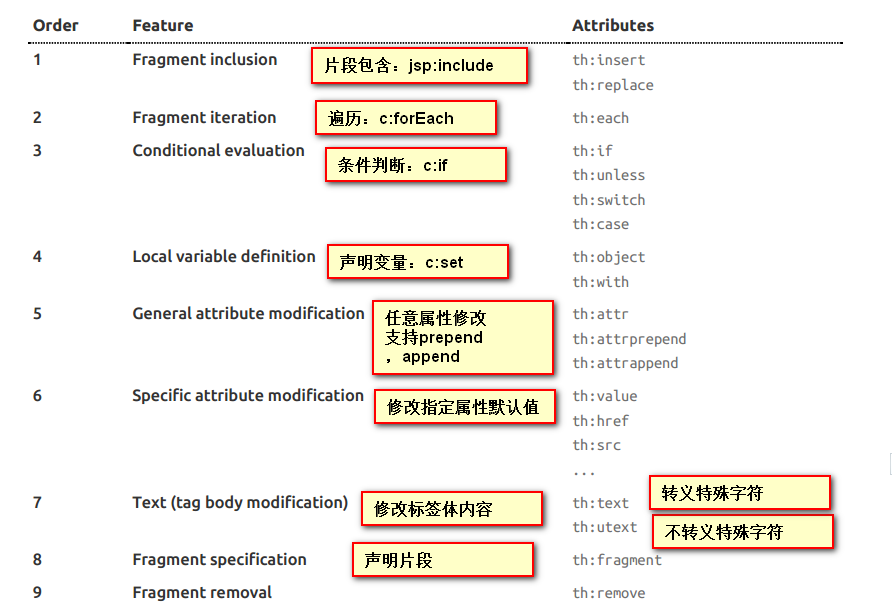
属性优先级
环境/版本一览:
- 开发工具:Intellij IDEA 2018.2.2
- springboot: 2.0.5.RELEASE
- jdk:1.8.0_171
- maven:3.3.9
- thymeleaf:3.0.9
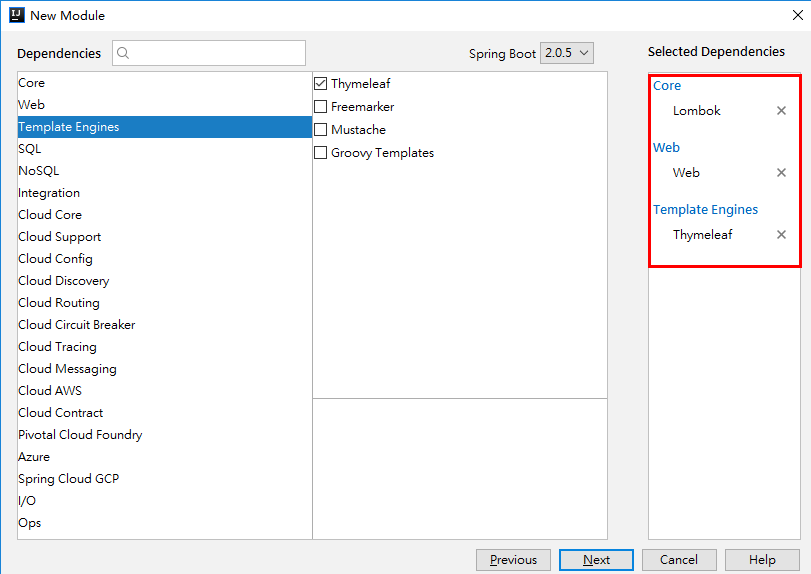
1、搭建
2、Hello World
1 | (prefix = "spring.thymeleaf") |
命名空间
首先:导入 thymeleaf 的命名空间
1 | <html lang="en" xmlns:th="http://www.thymeleaf.org"> |
Controller
1 | package com.fatal.fatal; |
hello.html
1 |
|
显示

3、表达式详解
3.1、Variable Expressions(${})
本质:OGNL 表达式;案例:上面的 Hello World 就是
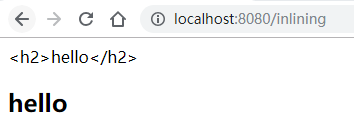
3.2、Inlining Expressions([[]]、[()])
以 ${} 为例子
Controller
1 | /** |
inlining.html
1 |
|
显示
3.3、Selection Variable Expressions(*{})
Controller
1 | /** |
test1.html
1 |
|
显示

3.4、Message Expressions(#{})
步骤
No.1
准备静态文件,我这里从 bootstrap 官网下载了4.0 版本的登录页面的模板

No.2
编写国际化配置文件,抽取页面需要显示的国际化内容
要求
需编写 ==一个 普通== 配置文件和 ==多个 国际化== 配置文件。命名格式如下:
- 普通配置文件:基础名
- 国际化配置文件:基础名 + 下划线 + 国际化标识(zh_CN、en_US)
- 文件类型为 properties
- 如:message.proerties、message_zh_CN.proerties、message_en_US.proerties
注
如果命名规范,创建第一个国际化配置文件的时候,SpringBoot 会自动识别出来并帮你创建 Resource Bundle “基础名” 文件夹;
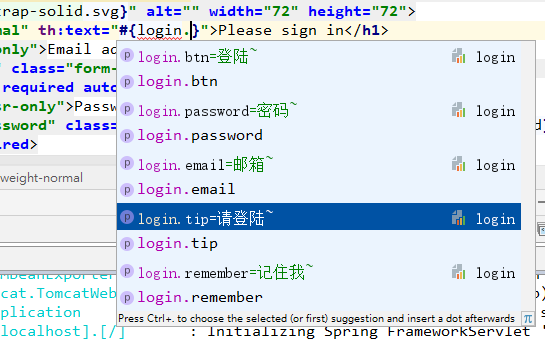
如果配置文件书写正确,在 html 页面上使用 th结合#{} 的语法会有 联想
resource 下创建文件夹 i18n(名字你随意)
i18n 下创建 基础名.properties
i18n 下创建 基础名_zh_CN.properties(这个时候如果你命名规则正确,SpringBoot 会自动识别,并生成Resource Bundle “基础名” 文件夹)
右键单击 Resource Bundle “基础名”,选择 New,选择 Add Property File Resource Bundle 创建另一个国际化配置文件
点击三个配置文件中的其中一个。切换到 Resource Bundle 视图
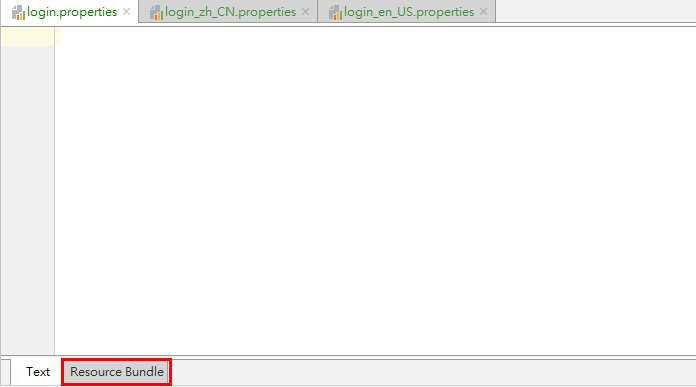
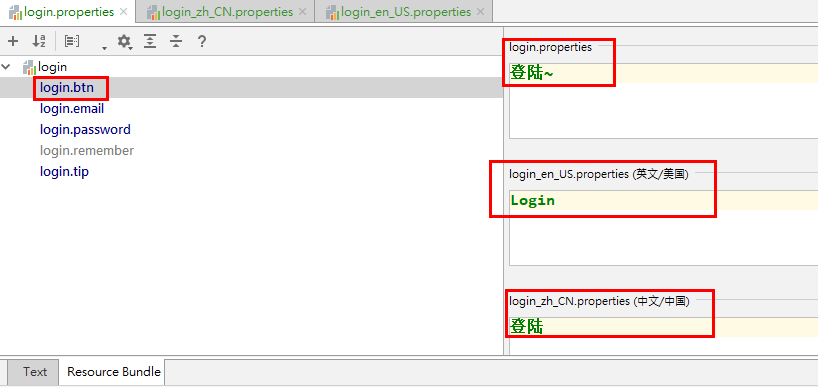
右键点击 基础名(或点击 ‘+‘),选择 New Property 添加属性,然后在右方 填写对应的属性值 即可
No.3
在全局配置文件中指定 国际化基础名
格式:class路径下.基础名
1 | spring: |
No.4
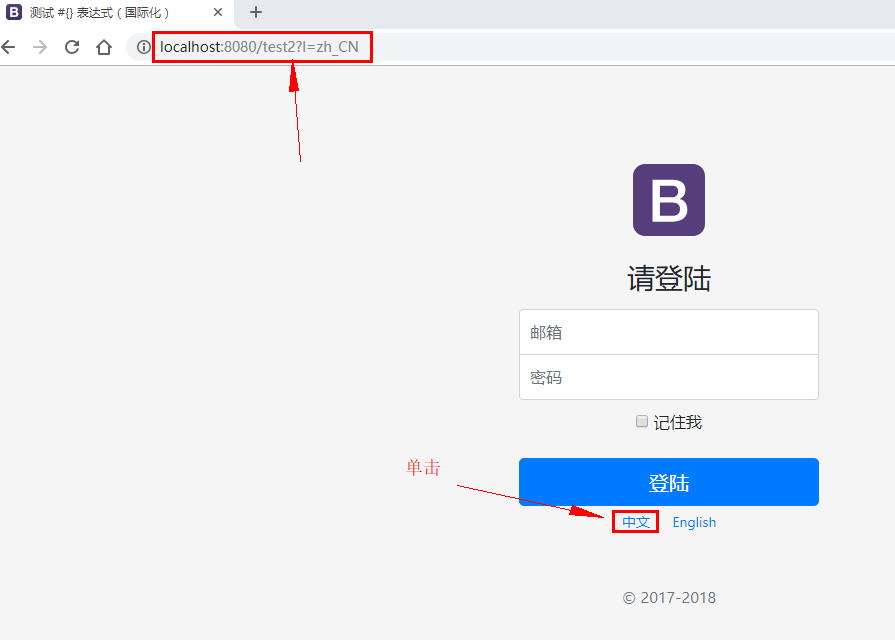
在 test2.html 页面上用 #{} 取值,并在国际化链接上加上国际化标识参数
1 |
|
No.5
自定义区域解析器
1 | package com.fatal.compoment; |
No.6
配置自定义区域解析器到 WebMvcConfigurer 组件中
1 | package com.fatal.config; |
No.7
视图映射(两种方式)
处理器映射器 @RequestMappping
1
2
3
4("/test2")
public String test2(Model model) {
return "test2";
}在 WebMvc 中添加 视图控制器
在 WebMvcConfigurer 中重写 addViewControllers 方法
1
2
3
4
5
6
7
8
/**
* 添加视图控制器
*/
public void addViewControllers(ViewControllerRegistry registry) {
// `映射路径`会去模板中找对应的`视图`
registry.addViewController("/test2").setViewName("test2");
}
显示
首次访问
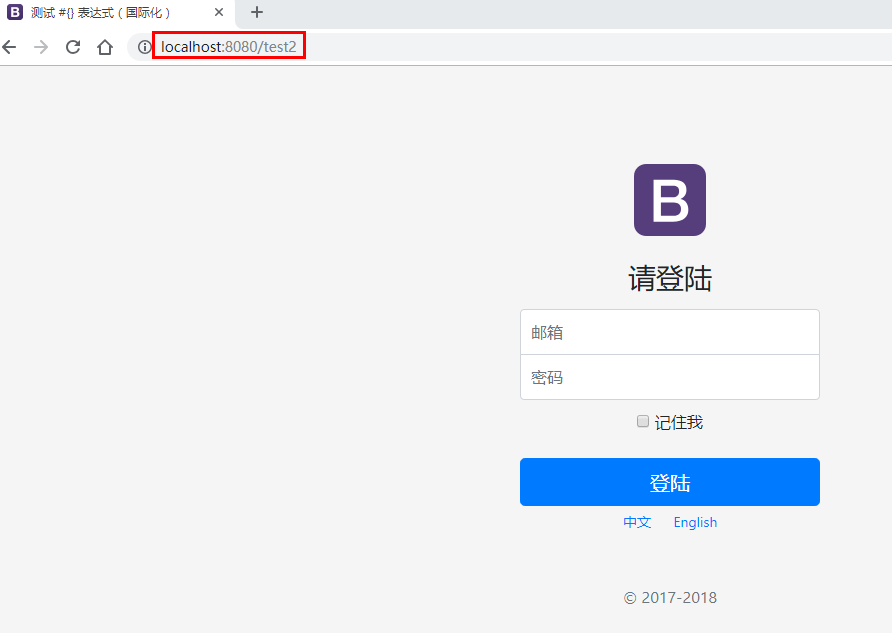
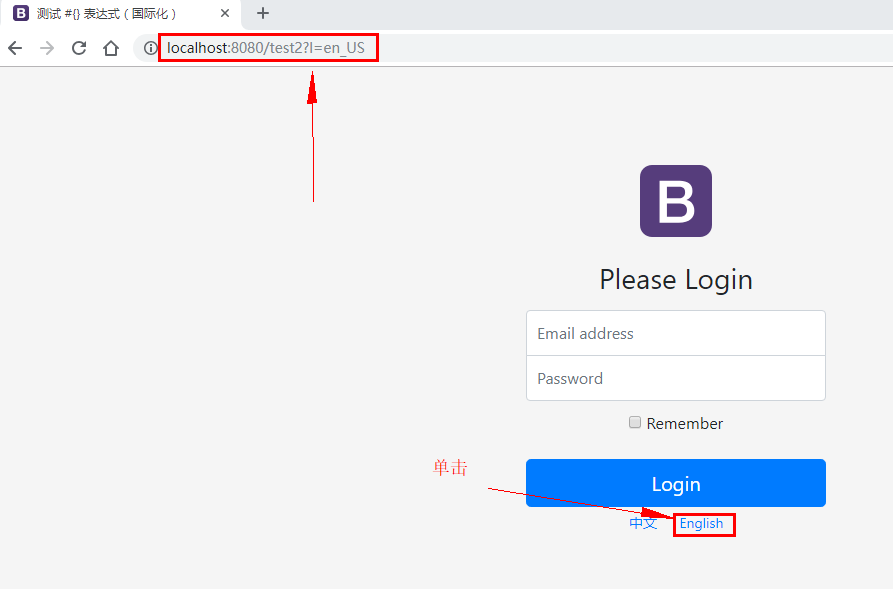
点击 English
点击 中文
3.5、Link URL Expressions(@{})
Controller
1 | /** |
test3.html
1 |
|
显示

3.6、Fragment Expressions(~{})
姿势解析
模板文件
1 | <!-- 方式一:使用`th:fragment`标签命名片段 --> |
三种引入公共片段的th属性
th:insert:将公共片段整个插入到声明引入的元素中
th:replace:将声明引入的元素替换为公共片段
th:include:将被引入的片段的内容包含进这个标签中
如何取?
- 标签:th:insert,th:replace, th:include
- 表达式: ~{templatename::selector}, ~{templatename::fragmentname}
1 | <!-- 上方标签和表达式各取一种--> |
- 注:
- ~{} 与这三个标签组合时,~{} 可以省略
- templatename:classpath下的模板文件的相对路径名(不需要后缀)
Demo1
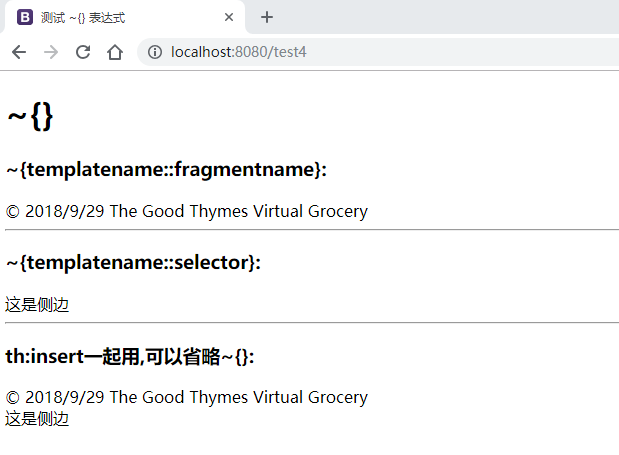
测试选择器和片段名
Controller
1 | /** |
bar.html
1 |
|
footer.html
1 |
|
test4.html
1 |
|
显示
Demo2
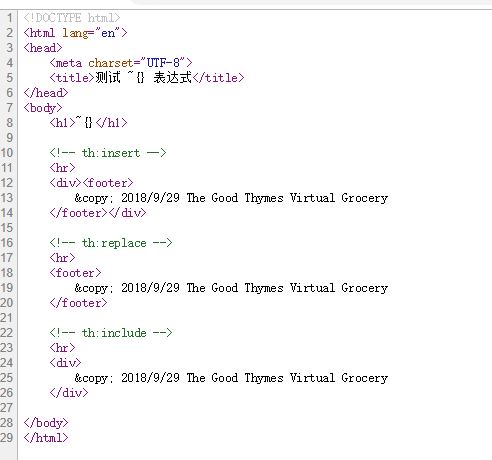
测试 th:insert,th:replace, th:include
Controller
1 | /** |
test5.html
1 |
|
显示
4、th:属性
th:each
语法: th:each=”元素名: ${集合名}”
Demo
Controller
1 | /** |
test6.html
1 |
|
th:if
Demo
Controller
1 | /** |
test7.html
1 |
|
Thymeleaf 热加载
1 | spring: |
操作:Ctrl + F9 即可
总结
SpringBoot的知识已经有前辈在我们之前探索了。比较喜欢的博主有:唐亚峰 | Battcn、方志朋的专栏、程序猿DD、纯洁的微笑。对这门技术感兴趣的可以去他们的博客逛逛。谢谢他们的分享~~
以上文章是我用来学习的Demo,都是基于 SpringBoot2.x 版本。
源码地址: https://github.com/ynfatal/springboot2-learning/tree/master/chapter4